Follow Us x

Please call us at 716-344-5349 to discuss and secure your place on our schedule
We Serve Buffalo, Cheektowaga and surrounding areas in NY
Get Your Yard Ready for Any Season, Call Us for Hardscaping Services
We Serve Buffalo, Cheektowaga and surrounding areas in NY
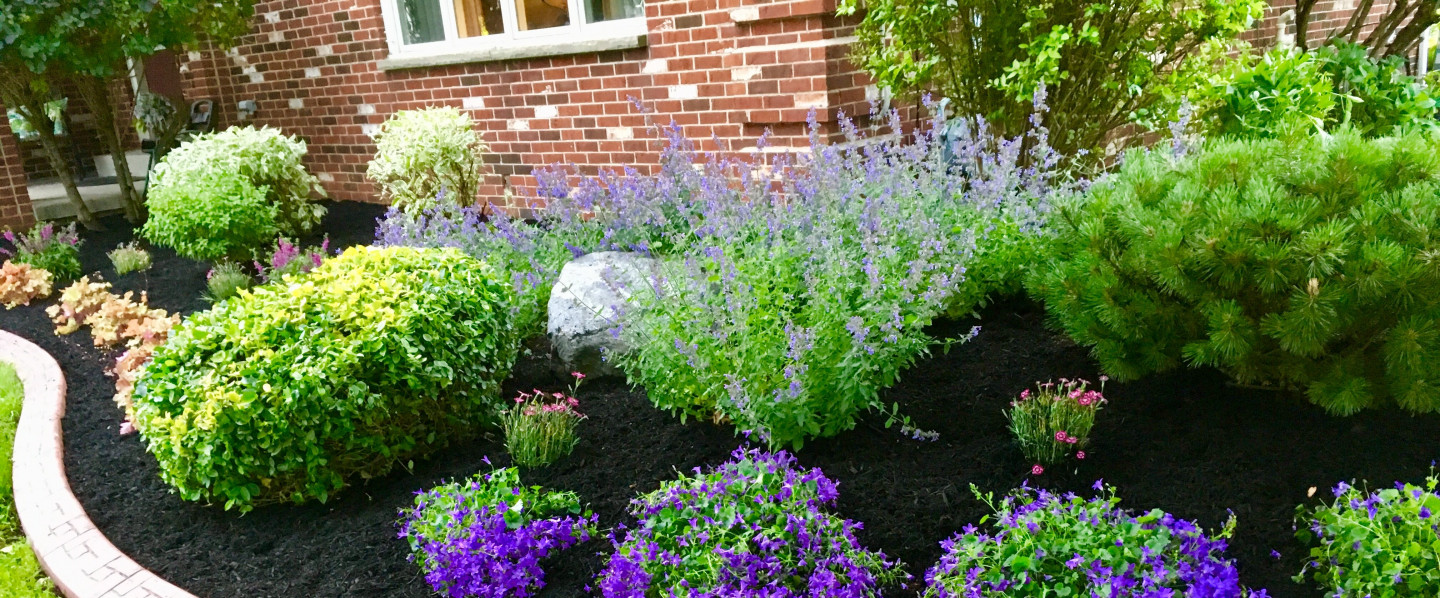
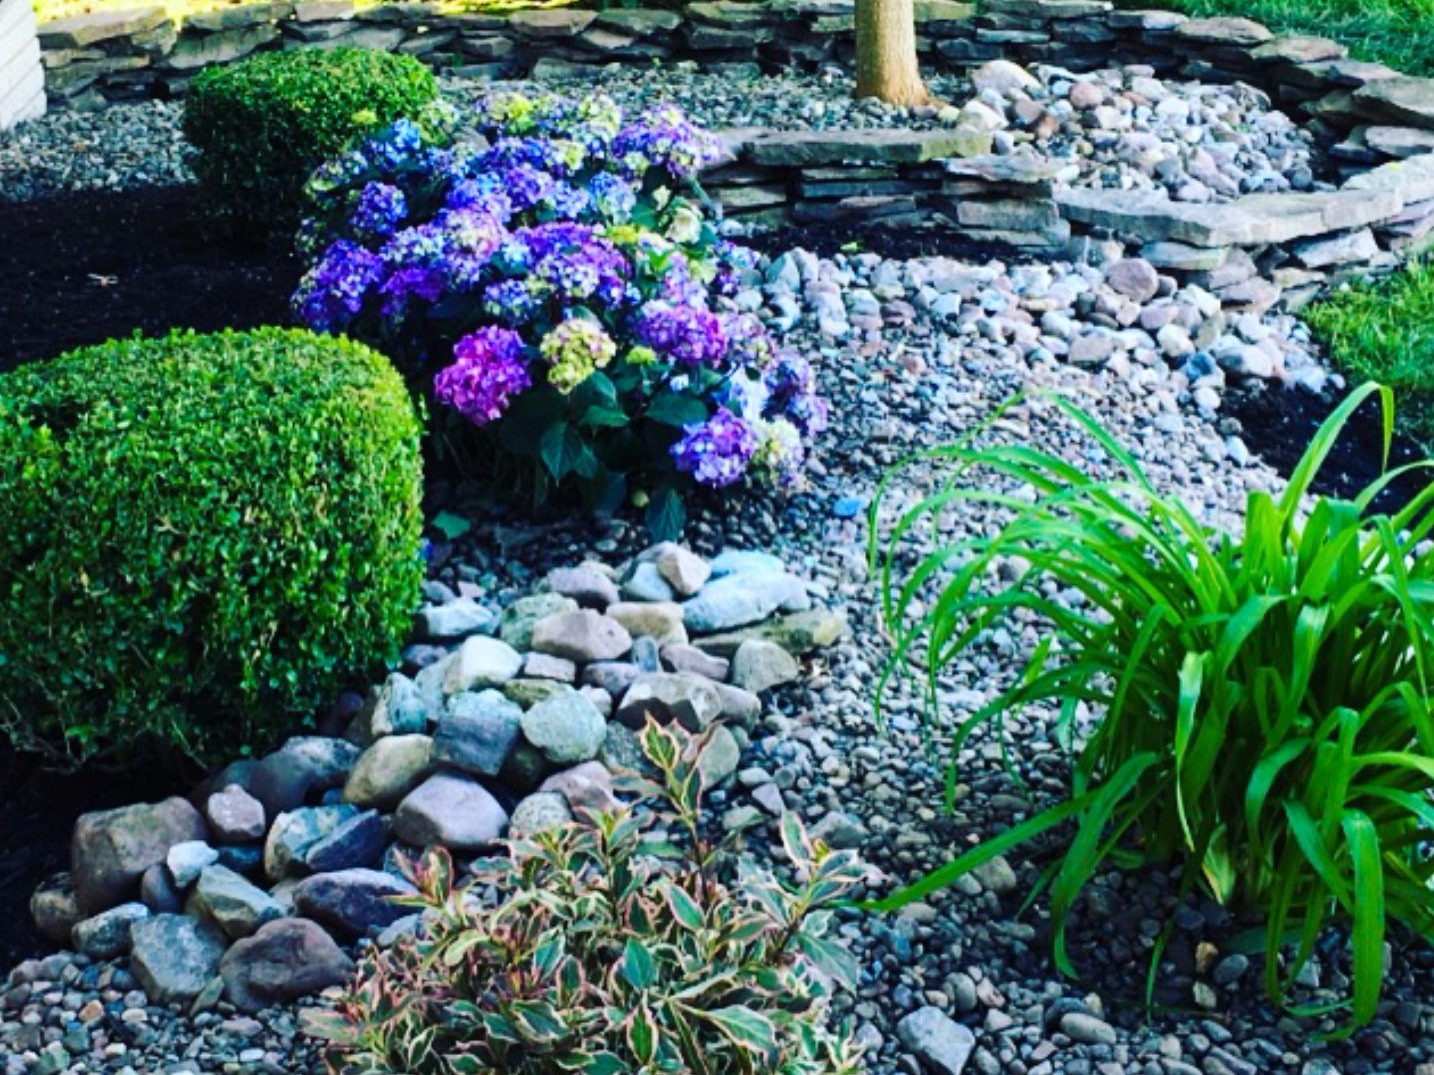
Landscape and lawn care maintenance services in Buffalo, Cheektowaga and surrounding areas in NY
Call today and let us help you get ready for the Spring!

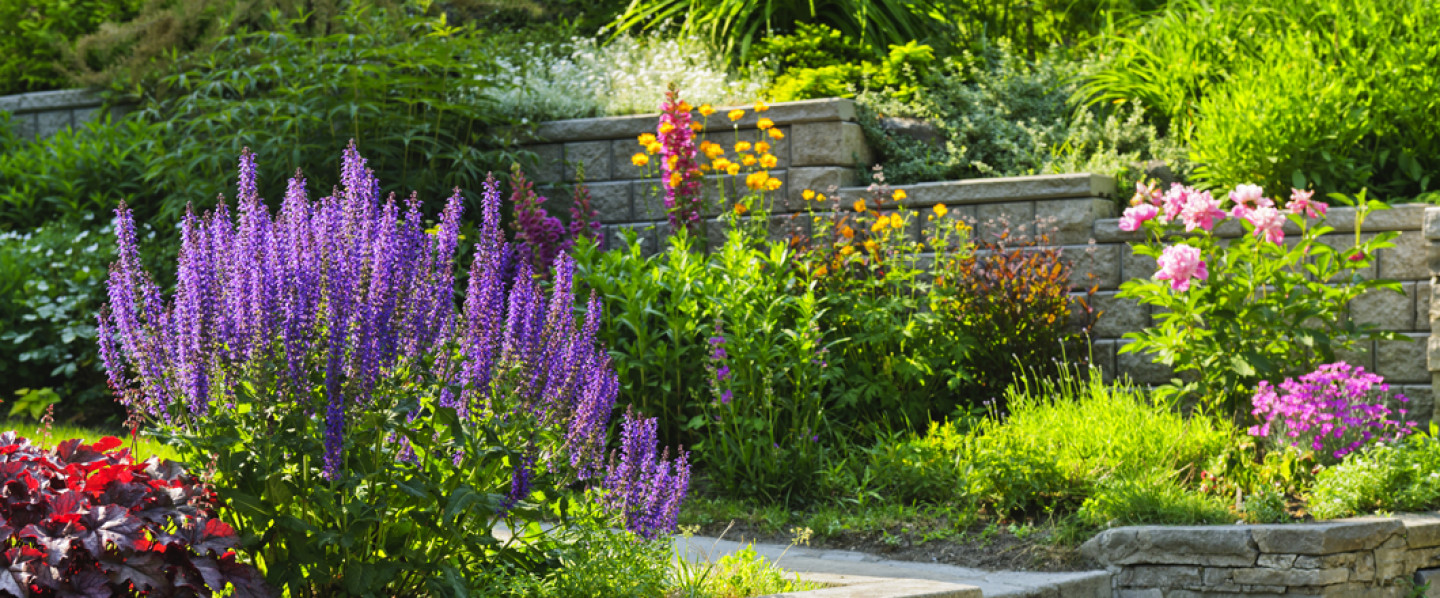
The Grass Is Always Greener With Gorski Landscape Services
Lawn care and landscaping services in Cheektowaga, Williamsville & Buffalo, NY and surrounding areas in NY
Do you need a professional landscaper to mow your lawn? Could your yard use a spring cleaning? Call the lawn care specialists at Gorski Landscape Services, Inc. We provide fast and affordable lawn care and landscaping services for residential and commercial clients in Cheektowaga, Williamsville & Buffalo and surrounding areas in New York.
Gorski Landscaping is a proud supporter of the SOI Dog Foundation
We are active members of the community and donate a portion of our proceeds to SOI Dog.
Tom Gorski, an avid animal lover, is passionate about helping those without a voice. Gorski Landscaping has partnered with SOI Dog, an organization whose mission is "To improve the welfare of dogs and cats in Asia, resulting in better lives for both the animal and human communities, to create a society without homeless animals, and to ultimately end animal cruelty". You can visit their website to learn more.
![]()
5 Reasons To Hire The Pros At Gorski Landscape Services, Inc.
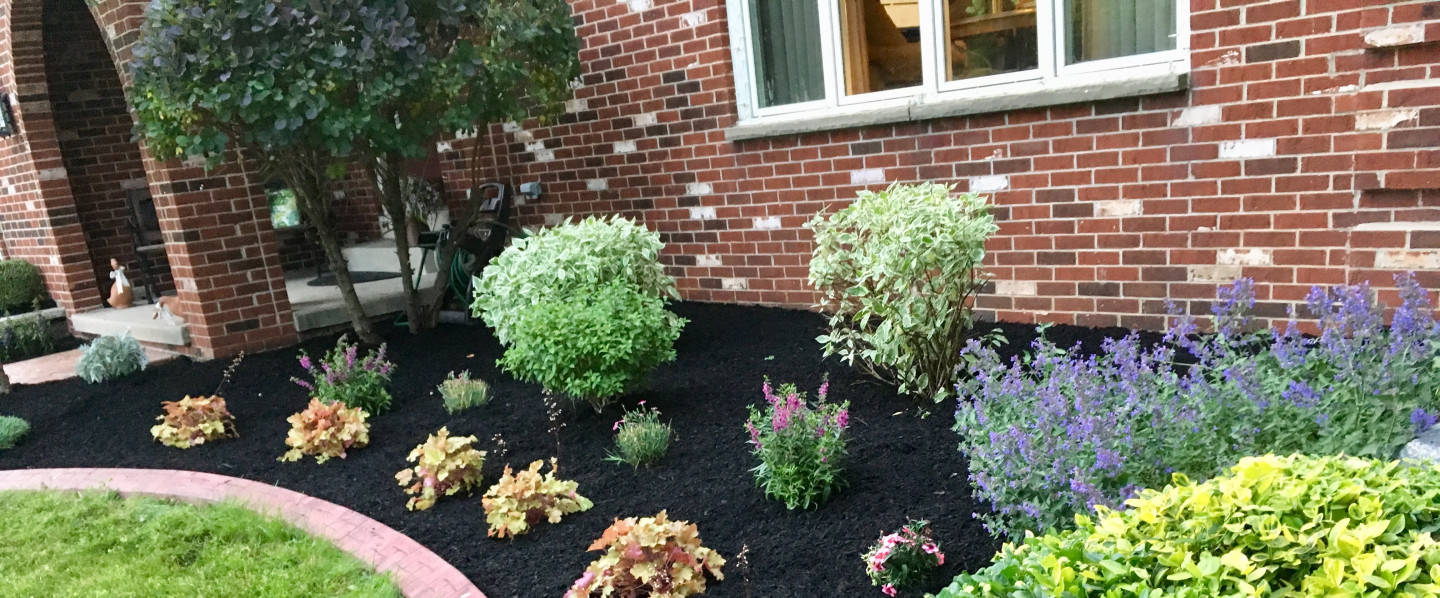
At Gorski Landscape Services, Inc., our goal is to create sensational curb appeal that brings your landscaping vision to life. That's why we offer premium lawn care and landscaping services. Below are a few reasons why we're the preferred choice for residential and commercial clients in the Cheektowaga, Williamsville & Buffalo and surrounding areas in NY:
- We provide a live presentation of your landscape design on a digital program called Pro Landscape.
- We earned the Houzz Top Customer Satisfaction award in 2016.
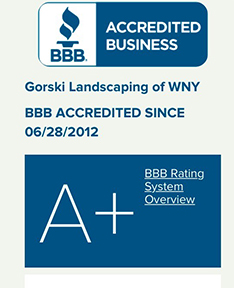
- We have an A+ rating with the Better Business Bureau.
- A portion of our proceeds goes to "Companions 4 Life"
serving our Senior Citizen Community nonprofit. - We use premium tools and organic materials to complete
every job.
Call 716-344-5349 to schedule a consultation with Gorski Landscape Services, Inc. of Buffalo, Cheektowaga and surrounding areas in NY. We'll gladly give you a free estimate!
-
Call Us
Primary: (716) 344-5349
Hours
Mon: 7:00AM-7:00PM
Tue: 7:00AM-7:00PM
Wed: 7:00AM-7:00PM
Thu: 7:00AM-7:00PM
Fri: 7:00AM-7:00PM
Sat: 7:00AM-7:00PM
Sun: Closed